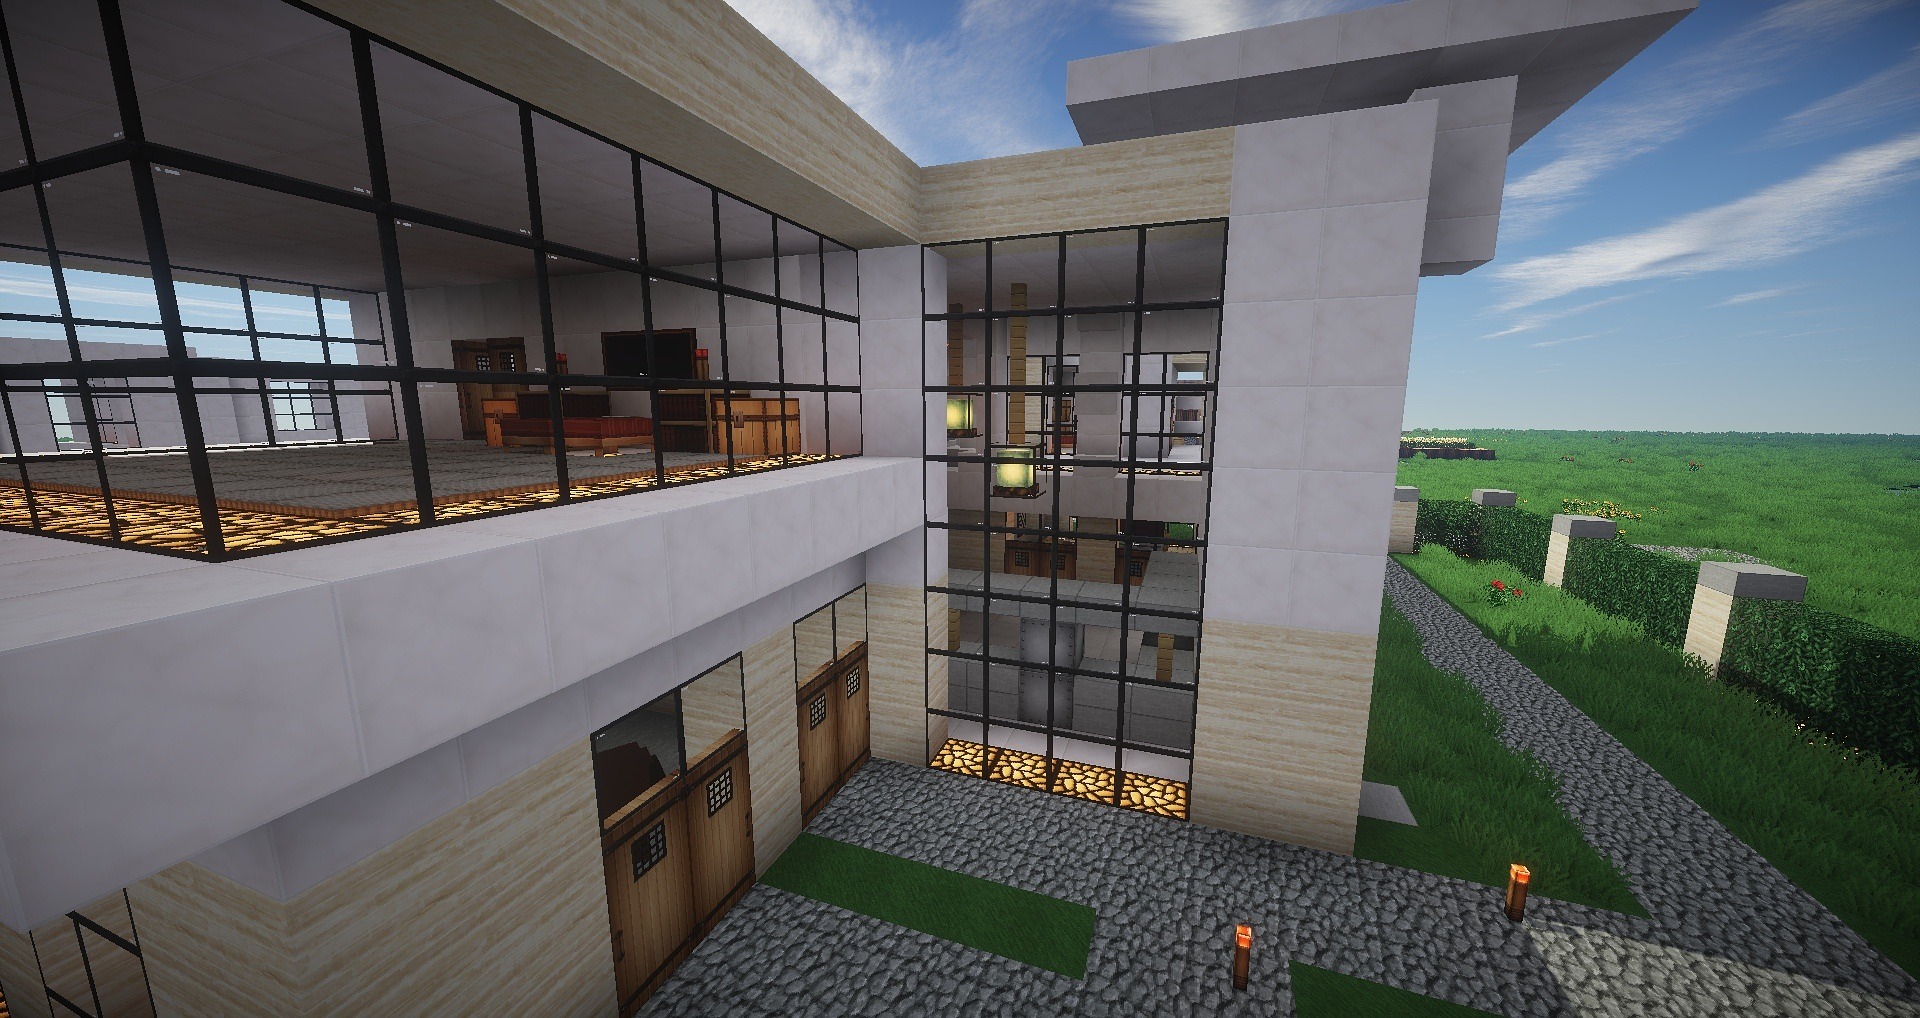
Minecraft, the beloved sandbox game developed by Mojang Studios, offers players endless opportunities for creativity and exploration. One of the most exciting aspects of Minecraft is the ability to customize and enhance the game through modifications, or mods. Mods can add new content, features, and experiences to Minecraft, transforming the game in exciting ways. In this step-by-step guide, we’ll walk you through the process of installing mods for Minecraft on the Java Edition, detailing each step for beginners and experienced players alike.
Step 1: Choose Your Mods
Before you begin, it’s essential to decide which mods you want to install. There are thousands of mods available for Minecraft, ranging from simple tweaks to full-fledged game overhauls. Browse popular modding websites such as CurseForge or Planet Minecraft to explore the vast selection of mods and find ones that match your interests.
Step 2: Check Compatibility and Dependencies
Once you’ve chosen your mods, make sure to check their compatibility with your version of Minecraft. Mods are typically developed for specific Minecraft versions, so ensure that the mods you’ve selected are compatible with your game version. Additionally, some mods may require specific dependencies, such as mod loaders or library mods. Make sure to read the mod descriptions carefully to identify any required dependencies.
Step 3: Install a Mod Loader
Before you can install mods, you’ll need to install a mod loader. The most popular mod loader for Minecraft Java Edition is Forge. Here’s how to install Forge:
- Visit the Forge website (files.minecraftforge.net) and download the installer for the version of Minecraft you’re using.
- Run the Forge installer. Make sure to select “Install Client” and choose your Minecraft directory when prompted.
- Once the installation is complete, launch the Minecraft Launcher and select the Forge profile from the dropdown menu.
Step 4: Download Mods
Next, download the mods you want to install. Make sure to download the correct version of each mod for your Minecraft version. Mods are typically downloaded as .jar or .zip files.
Step 5: Install Mods
Now that you have your mods downloaded, it’s time to install them:
- Open your Minecraft directory. You can do this by launching the Minecraft Launcher, clicking on “Launch Options,” then selecting your Forge profile and clicking “Game Directory.”
- In your Minecraft directory, navigate to the “mods” folder. If the folder doesn’t exist, you can create it.
- Drag and drop the downloaded mod files into the “mods” folder.
- Once you’ve installed all your mods, close the Minecraft directory window.
Step 6: Launch Minecraft
Launch the Minecraft Launcher and select the Forge profile from the dropdown menu. Click “Play” to launch Minecraft with the installed mods.
Step 7: Check for Errors
After launching Minecraft with mods, it’s essential to check for any errors or conflicts. If Minecraft crashes or you encounter unexpected behavior, it may be due to incompatible mods or conflicts between mods. Review the crash report or log files to identify the issue and make any necessary adjustments, such as removing conflicting mods or updating dependencies.
Step 8: Enjoy Your Mods
Once you’ve installed your mods successfully and resolved any issues, you’re ready to enjoy your customized Minecraft experience! Explore new worlds, discover unique gameplay mechanics, and unleash your creativity with the power of mods.
By following this step-by-step guide, you can install mods for Minecraft Java Edition and unlock a world of endless possibilities. Whether you’re looking to add new content, enhance gameplay mechanics, or simply change the way Minecraft looks and feels, mods offer a fun and exciting way to customize your Minecraft experience.
